We are a team of enthusiasts and professionals united by our love for sewing and creativity. Our site offers sewing courses not only for adults, but also for children and even your pets! We strive to create a place where...
Courses on sewing clothes for animals, children and adults
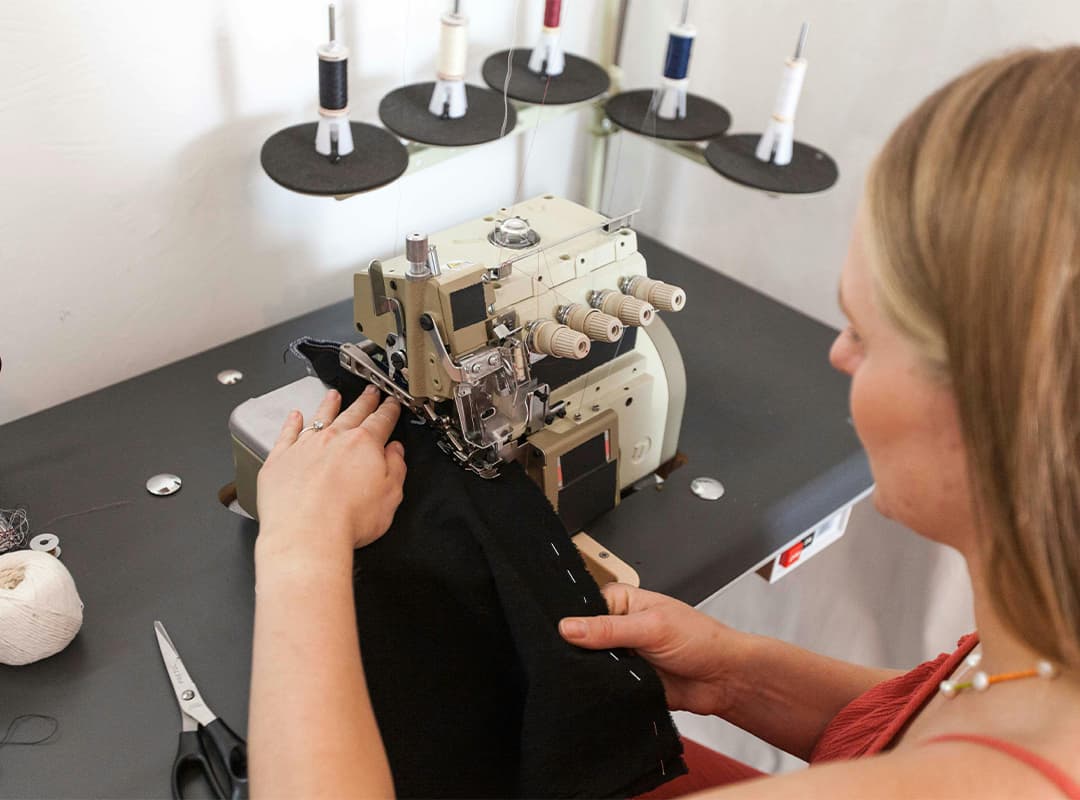
This is one of the easiest starts for beginners. This course gives you a base, a foundation, an understanding of "how things work" in sewing....
This is the easiest course in sewing. Literally on the 2-3-th lesson you will feel the flight, you will think that you already know how...
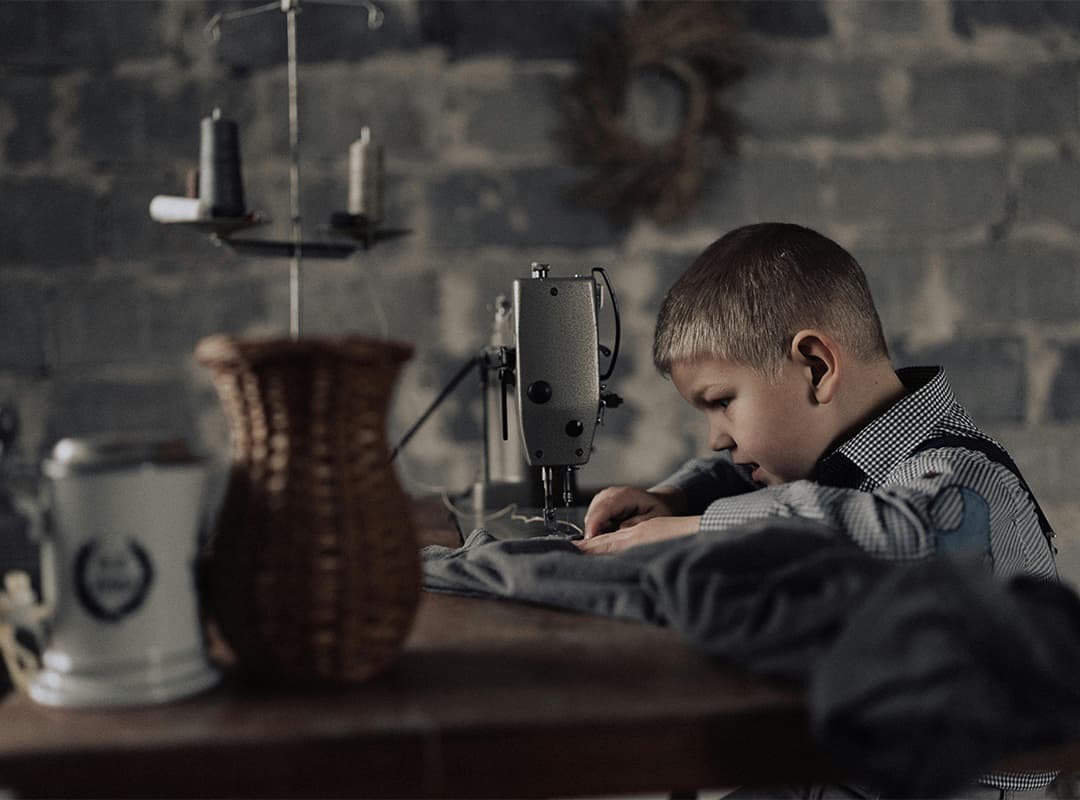
Dressing your children from a problem to a pleasure! You just have to learn how to sew! We love our babies and want them to...
This is the most actual direction of needlework lately. You can sew overalls and other accessories for your four-legged pet. Courses sewing clothes for animals offer a wide range of work on creativity for your friend. The instructor will show...


Open the world of creativity with us! Sign up for a sewing course for your pets, children and yourself right now.